How to Repot an Aloe Vera Plant: A Step-by-Step Guide
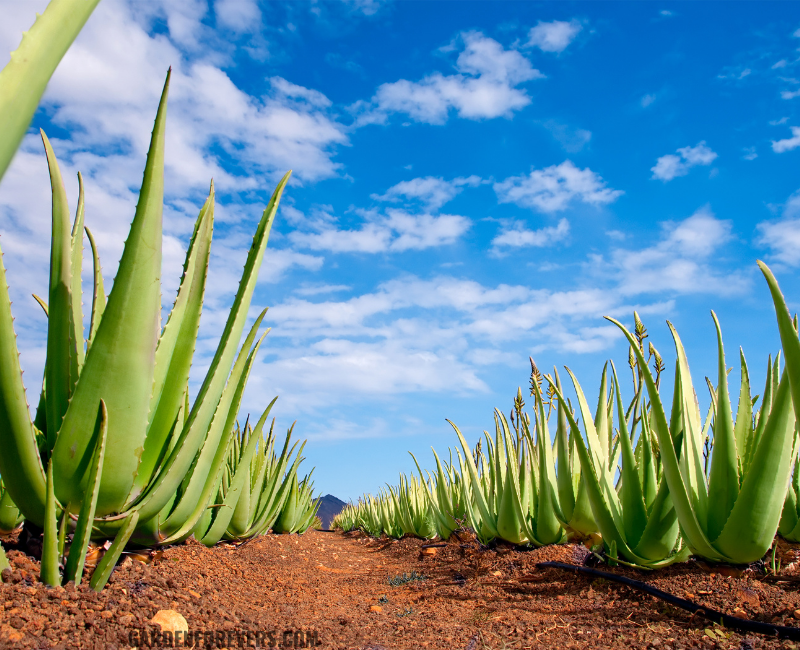
Aloe vera plants are a popular choice for their medicinal properties and low maintenance. These plants can be planted both indoors and outdoors.
However, like all plants, aloe vera eventually outgrows its pot and needs to be repotted to ensure healthy growth. One important thing for caring for aloe vera is to know when and how to repot this plan. Repotting a plant is essential for ensuring proper care and enough nutrients.
The current article will give you proper knowledge about the steps to successfully repot your aloe vera plant. You will come to know everything you need to know about repotting and after repotting care also. I can assure you that your aloe vera continues to flourish in its new home with these magical tips from this article. So, Let’s start gardening!
Why Repot an Aloe Vera Plant?
Repotting is a very important maintenance practice for any potted plant like aloe vera. The necessity of repotting can be stated for several reasons:
- Repotting provides the roots more space to spread out, which encourages the healthy growth of aloe vera.
- It makes the soil refreshed and increases the drainage of soil. Thus the risk of root rot is reduced.
- Repotting as a fresh pot mix ensures a perfect supply of nutrients, which help it to grow healthy.
- Repotting can be a perfect solution for overwatering issues.
- It helps the aloe vera to maintain an aesthetic appeal.
- You can expand your aloe vera collection by separating the pups and then repotting them.
These are some vital reasons why you should repot your aloe vera plant.
When to Repot an Aloe Vera Plant
It’s very important to understand when you should repot your aloe vera plant. The best time to repot an aloe vera plant is during its active growing season, typically in spring or early summer. Here are some indications that your plant needs repotting:
The plant has outgrown its current pot, with roots poking out of the drainage holes.
The soil dries out too quickly, or the plant becomes top-heavy and tips over.
If the plant becomes too heavy, then it needs an individual pot to grow.
When there are too many pups around the plant’s base, you need to separate them.
Soil degradation is another signal that your plant needs repotting.
However, avoid repotting in the winter season when the growth of the plant is very slow.
Materials Needed for Well Repotting
Before you start repotting, collect these materials for a hassle-free repotting process of your plant:
A new pot (one size larger than the current pot) with drainage holes
Cactus or succulent potting mix
A trowel or small gardening shovel
Gardening gloves (optional)
A watering can with a gentle spout
Step-by-Step Guide to Repotting an Aloe Vera Plant
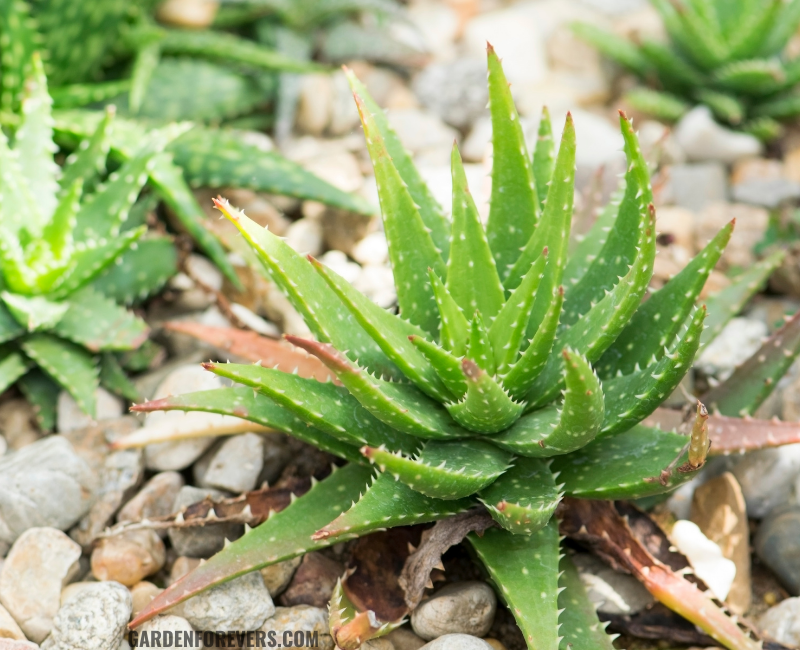
Select and prepare a new pot:
The pot you select as a new por should be larger than the previous one. It should contain proper drainage holes to prevent your plant from root rot. Fill the bottom with a small layer of cactus or succulent potting mix, which is well-draining and suitable for aloe vera plants.
Remove the aloe vera from its current pot:
Gently tip the pot on its side and carefully slide the plant out. If it doesn’t come out easily, tap the bottom of the pot or use a trowel to loosen the soil around the edges. Be cautious not to damage the roots of your plant.
Consider the healthy roots:
Before placing the plant in the new pot, have a look at the roots. If any of the roots are damaged or excessively long, then trim them. If you notice any dark or mushy roots, prune them away with clean scissors or pruning shears.
Place the removed plant in the new pot:
Place the aloe vera plant in the center of the new pot, holding it steady while you fill around it with fresh potting mix. The base of the leaves should be just above the soil surface. Ensure the plant is upright and centered.
Fill the pot with soil:
After placing, add more potting mix around the plant and fill the pot to about an inch below the rim. Gently pat the soil down to eliminate any air pockets, but avoid compacting it too tightly, as this can restrict water drainage and root growth.
Water the plant properly:
Aloe vera plants prefer their soil to dry out completely between watering. So, you should keep in mind that your watering process is preferable for your plant. Water the plant lightly to help the soil settle down around the newly potted aloe vera. To ensure not overwatering, you should manage a proper drainage system.
Perfect placement and care after repotting the plant:
After repotting your aloe vera, place it in a perfect location. A perfect location requires bright, indirect sunlight. Direct sunlight is harmful for the first few days after repotting as it increases stress on the plant. Continue with regular care. Water the plant only when the soil is completely dry and provide adequate light. Give it a little time to adjust to its new environment with nature.
Tips for Successful Repotting
Choose the Right Soil:
- Aloe vera plants grow significantly in well-draining soil. A cactus or succulent mix is ideal as it prevents water retention and allows for proper aeration.
Avoid Overwatering:
- One of the most common mistakes when caring for aloe vera is overwatering. Always let the soil dry out completely between watering sessions.
Handling Repotting Shock:
- Handle the plant’s root gently during the repotting process and avoid direct sunlight.
Post-Repotting Suggestions to Grow Healthy Plants
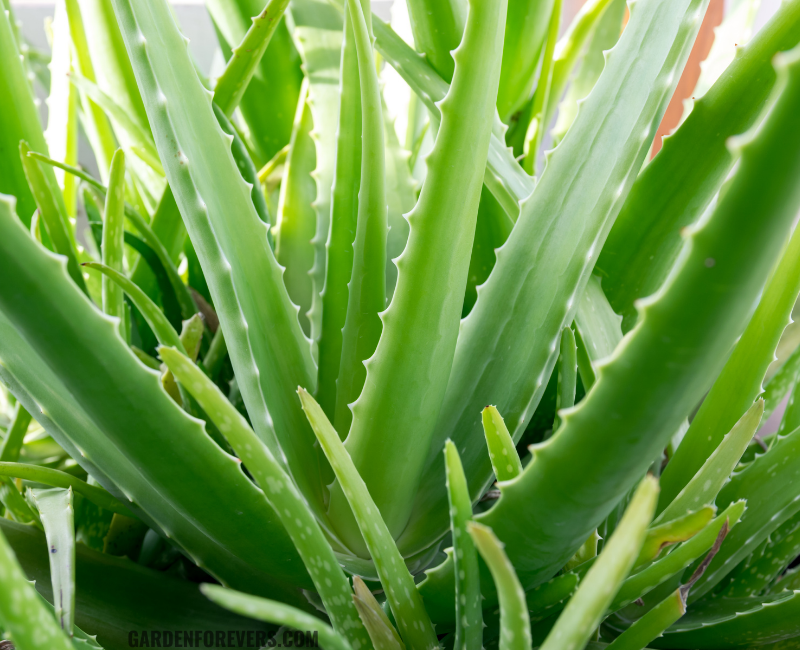
Many aloe vera show some symptoms after being repotted. They might lose their vibrant color. Here are some suggestions for you to care for your aloe vera after repotting:
Keep your aloe vera in indirect sunlight but in a bright place. A south- or west- facing window is ideal.
Make a watering routine based on the weather, humidity, and other factors of your home.
Ensure that the soil is completely dry while watering.
Aloe vera prefers temperatures between 55°F and 80°F (13°C to 27°C). Avoid cold windows in winter.
After repotting, monitor your plant for common pests like aphids, mealybugs, or spider mites.
Avoid fertilizing in winter, when the plant is dormant.
In summer and spring you can fertilize your plant once a month with a dilute fertilizer.
Repotting an aloe vera plant is an essential part of its care routine. It ensures the plant remains healthy, vibrant, and free from root-bound stress.
By following these steps and tips, your aloe vera plant will continue to thrive, bringing beauty and benefits to your home for years to come.
By dedicating a little time and care to repotting your aloe vera plant, you ensure its continued growth and vitality. This process, though simple, goes a long way in maintaining a healthy plant that can not only enhance the aesthetics of your space but also serve as a handy natural remedy for minor burns and skin irritations. Happy gardening!
Related
FAQs about repotting aloe vera plants:
How Often Should I Repot My Aloe Vera Plant?
Answer: Aloe vera plants need to be repotted every 2 to 3 years in general condition depending on their growth rate and the size of the pot. If you notice any of the signs mentioned in this article, you can repot them earlier.
What Size Pot Should I Choose for My Aloe Vera?
Answer: The selected pot should be larger than the current one. Ensure that the pot is one size larger than the current one. For example, if your aloe vera is in a 4-inch pot, move it to a 6-inch pot.
Is It Normal for Aloe Vera Leaves to Turn Brown After Repotting?
Answer: This happens due to repotting shock. In general, it’s temporary. But if you face constant problems then it may occur for other reasons such as overwatering, pests or weather problems.
How to Prepare Organic Fertilizer from Kitchen Waste
Flowers that start with x | Xeriscaping With Style

What do carrot sprouts look like When They Start to Grow?
How To Make Your Best Homemade Fertilizer for Indoor Plants

How to Grow and Care for Lipstick Plant
How to grow and care for alocasia wentii
How to Prevent and Solve ZZ Plant Problems and Toxicity
