Steps To Be Followed For Making The Organic Fertilizer
There are several ways to make organic fertilizer from kitchen waste, depending on your space and the method you prefer. The two most common approaches are composting and vermicomposting. Here I am trying to give a step-by-step guide for you.
1. Traditional Composting
Composting is one of the most efficient methods to transform kitchen waste into nutrient-rich fertilizer. Here’s a step-by-step Composting Guide:
Step 1: Choose a Composting Location. The location can be in your yard or balcony or simply use a small container, if you don’t have enough space.
Step 2: Create a Balance of Greens and Browns.
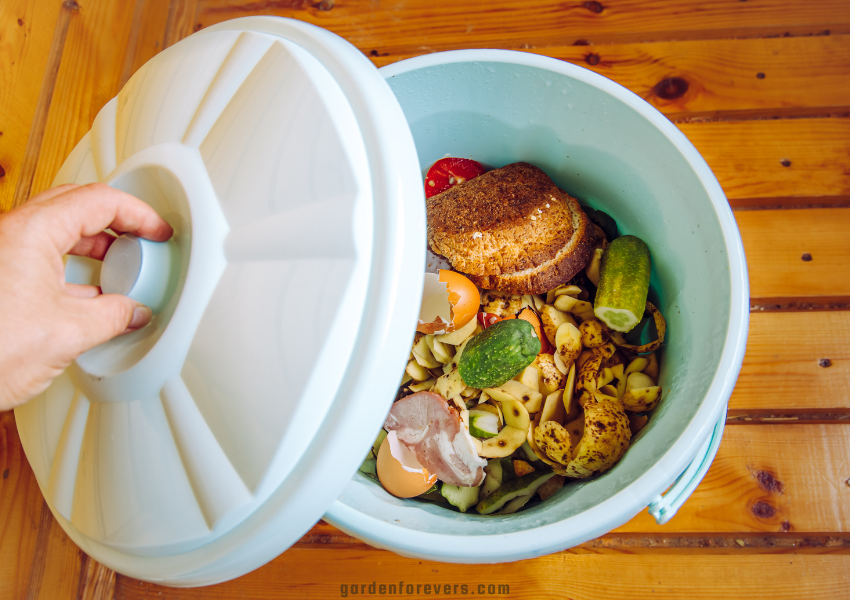
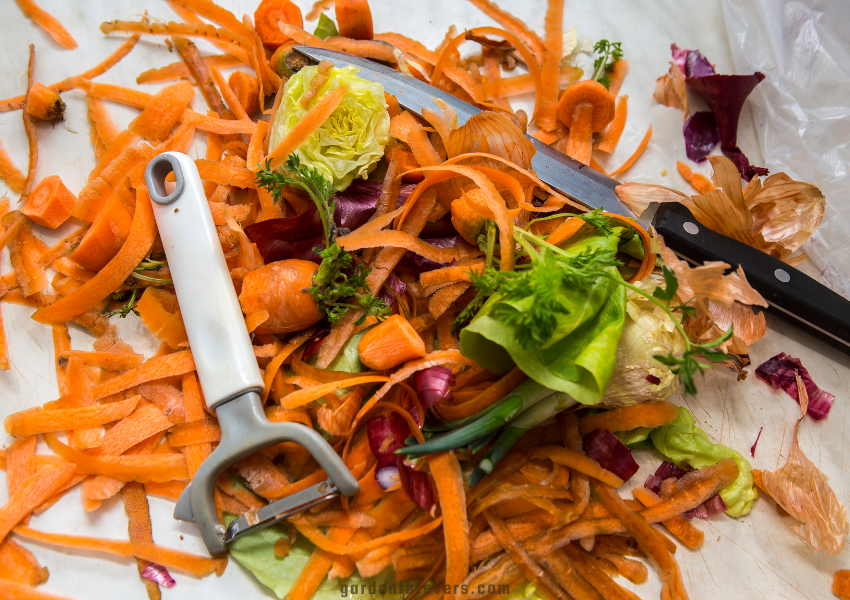
- Greens: Kitchen scraps like fruit and vegetable waste, coffee grounds, and tea bags. These provide nitrogen.
- Browns: Dry leaves, paper, cardboard, and sawdust provide carbon.
For optimal composting conditions a mix of 1 part green to 3 parts brown is perfect.
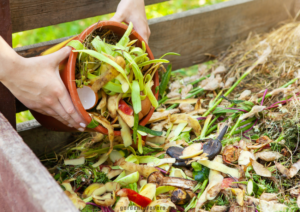
Step 3: Start layering of your compost pile with a layer of brown material and then a green layer. It’ll create airflow. Continue to alternate layers of greens and browns.
Step 4: Mix the compost pile every couple of weeks. It introduces oxygen, speeds up the composition process, and helps to keep the pile from smelling.
Step 5: Your compost should be moist. If it’s too dry, add more greens or water it lightly. If it’s too wet, add more brown materials to absorb the excess moisture. Monitor the moisture level of your compost.
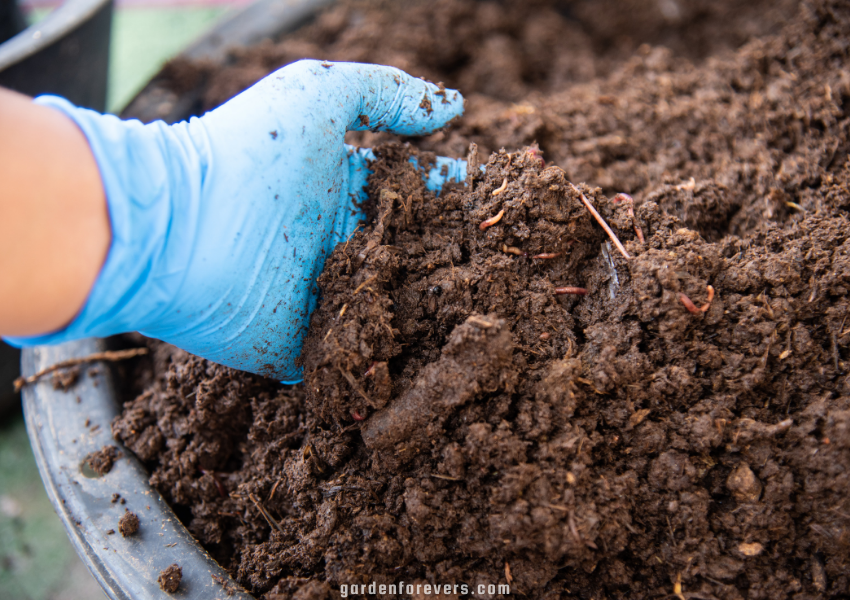
Step 6: Wait for decomposition. As it takes between 3-6 months. The time depends on the materials used and the conditions. The finished compost should look dark, crumbly, and have a pleasant earthy smell.
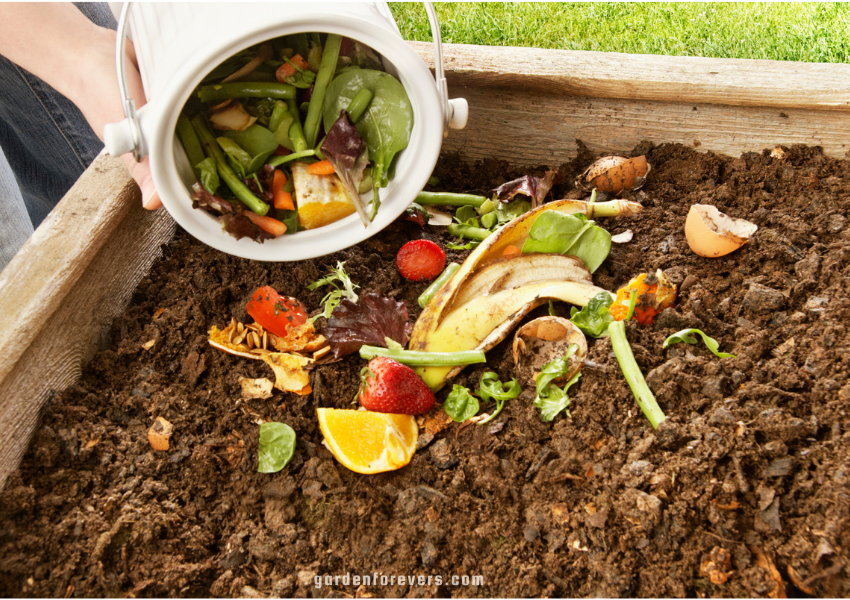
Step 7: Use the compost to fertilize your plants, when the compost is ready. Spread it around the base of plants or mix it into the soil to boost nutrient levels.
By following these steps, you can easily transform your kitchen wastages into a good fertilizer for your garden.
2. Vermicomposting
If you have limited space or want to speed up the composting process, vermicomposting is an excellent alternative. This process is done by using worms to break down organic matter. Red wiggler worms are commonly used as they are efficient decomposers. Here’s the steps that you should be followed to do the process:
Step 1: You’ll need a small container or bin, preferably with holes for ventilation and drainage. Place a tray underneath to catch any liquid produced, known as worm tea, which is also a potent fertilizer.
Step 2: The worms need bedding to live in. Shredded newspaper, cardboard, or coconut coir are good choices.
Step 3: Buy red wiggler worms from a local supplier or online. Start with at least 500-1,000 worms to ensure they can handle the amount of food waste you produce.
Step 4: Add small amounts of kitchen scraps (fruits, vegetables, coffee grounds, etc.) to the bin. Avoid adding too much at once, as worms take time to break down the food. Also, avoid citrus, spicy foods, and onions, as these can harm the worms.
Step 5: Monitor the Bin Keep the bin in a cool, dark place, and monitor moisture and temperature levels. The bin should be kept between 55°F to 77°F (12°C to 25°C) to ensure the worms stay active.
Step 6: Harvest the Compost After 2-3 months, you’ll notice the bedding has turned into dark, crumbly compost. Push the compost to one side of the bin, and add fresh bedding to the other side.
Step 7: Worm castings, also known as vermicompost, are incredibly nutrient-dense. Add them to the soil around your plants, or mix them into potting soil for indoor plants.

3. Bokashi Composting
Another option for indoor composting is the Bokashi method, which ferments food waste using beneficial microbes in an anaerobic environment. This method allows you to compost materials like meat and dairy, which traditional composting methods avoid.
For bokashi composting, at first you need to set up a bokashi bin and keep the food wastes by layering. If the bin is full, then seal the bin for 2-4 weeks for fermentation. And then you can either bury it or mix it to a traditional compost pile.
Preparing organic fertilizer from kitchen waste is a simple and rewarding way to contribute to a sustainable environment while giving your plants the nourishment they need. Whether you choose traditional composting, vermicomposting, or Bokashi composting, the benefits of recycling kitchen waste into nutrient-rich fertilizer are numerous.
By incorporating composting into your routine, you actively participate in the natural recycling process, closing the nutrient loop between your kitchen and your garden.